

Easy keepsake crafts for a cozy family Christmas
Affiliate disclosure: This post may contain affiliate links. As an Amazon Associate I earn from qualifying purchases. If you purchase through one of these links, I may earn a small commission at no additional cost to you.
There is something especially magical about decorating the Christmas tree with ornaments made by little hands. The glitter may wander, the paint may not stay inside the lines, and the finished pieces may look nothing like the inspiration photo—but those are often the decorations families treasure most.
These homemade Christmas decorations use simple, affordable supplies and can be adapted for toddlers, school-age children, and tweens. Choose one project for a quiet afternoon, or set up several stations for a family Christmas craft night.
Want an easier way to get started? A kids’ Christmas craft supply kit can give you a helpful assortment of colorful paper, pom-poms, craft sticks, glue, and other basics for several of these projects.
Before You Begin
- Cover the table with kraft paper or a washable tablecloth.
- Place supplies in shallow bowls or muffin tins so children can reach them easily.
- Write each child’s name and the year on every finished decoration.
- Let adults handle hot glue, sharp tools, the oven, and small pieces around young children.
- Expect personality, not perfection. Crooked stars and enthusiastic glitter are part of the charm.
1. Salt Dough Handprint Ornaments
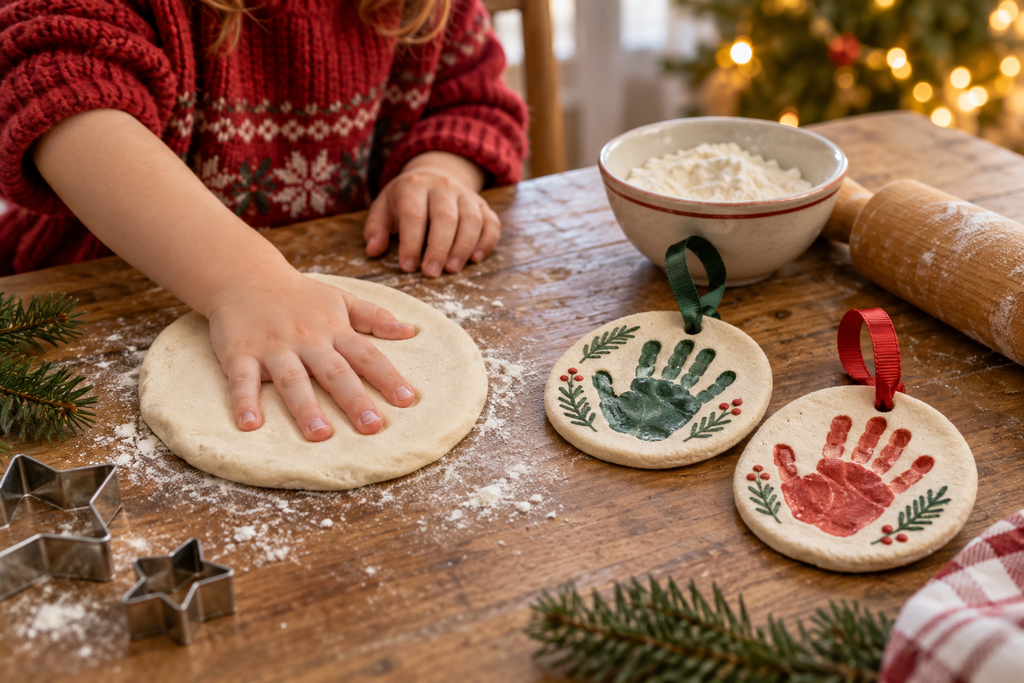
A tiny handprint becomes a keepsake you will love pulling from the ornament box year after year.
You will need
- 2 cups all-purpose flour
- 1 cup table salt
- About 1 cup warm water
- Rolling pin and Christmas cookie cutters
- Straw or skewer
- Washable Acrylic paint, ribbon, and child-safe sealer
How to make it
- Mix the flour and salt, then slowly add water until a firm dough forms.
- Roll the dough about 1/4 inch thick. Press in a handprint or cut out simple shapes.
- Make a hanging hole near the top with a straw.
- Bake at 250°F for about 2 hours, or until completely dry. An adult should handle the oven.
- Cool, paint, add the child’s name and year, then seal and thread with ribbon.
Make it special: Younger children can press their hands into dough while older children paint details or turn a handprint into a snowman family.
2. Cinnamon Applesauce Ornaments
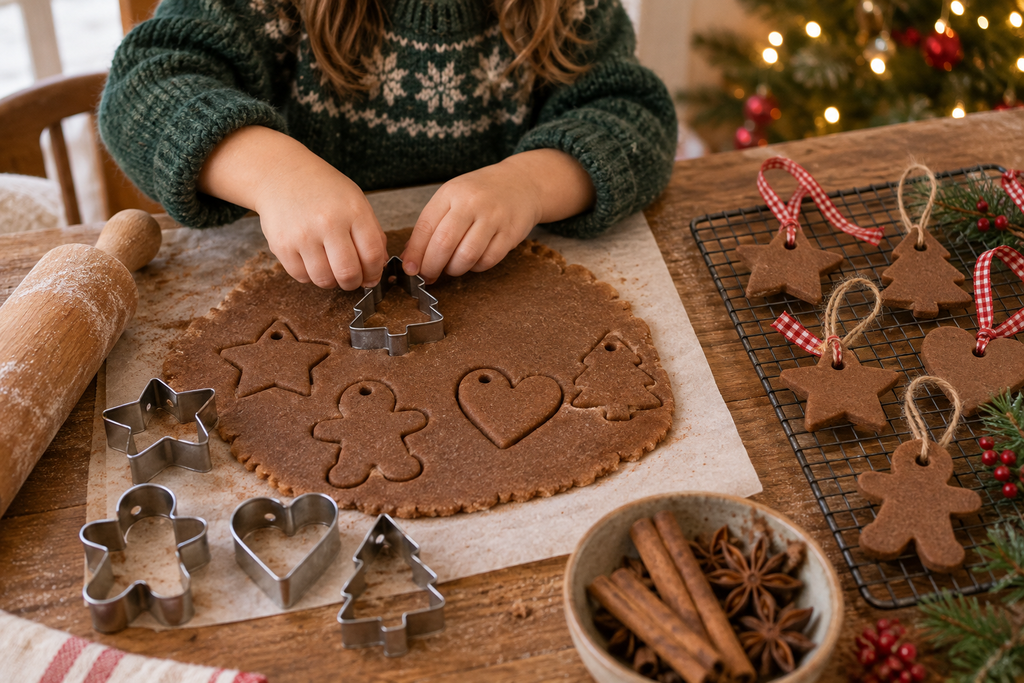
These rustic ornaments make the room smell like Christmas and look beautiful tied with red gingham ribbon.
You will need
- 1 cup ground cinnamon
- About 3/4 cup applesauce
- Cookie cutters
- Rolling pin
- Straw
- Ribbon or twine
How to make it
- Mix cinnamon and applesauce into a thick dough.
- Roll between sheets of parchment to about 1/4 inch thick.
- Cut shapes and make hanging holes.
- Air-dry for several days, turning occasionally, or bake at 200°F for 2 to 3 hours with adult supervision.
- Thread with ribbon when fully dry.
Make it special: These are decorative only and should not be eaten.
3. Paper Straw Snowflakes
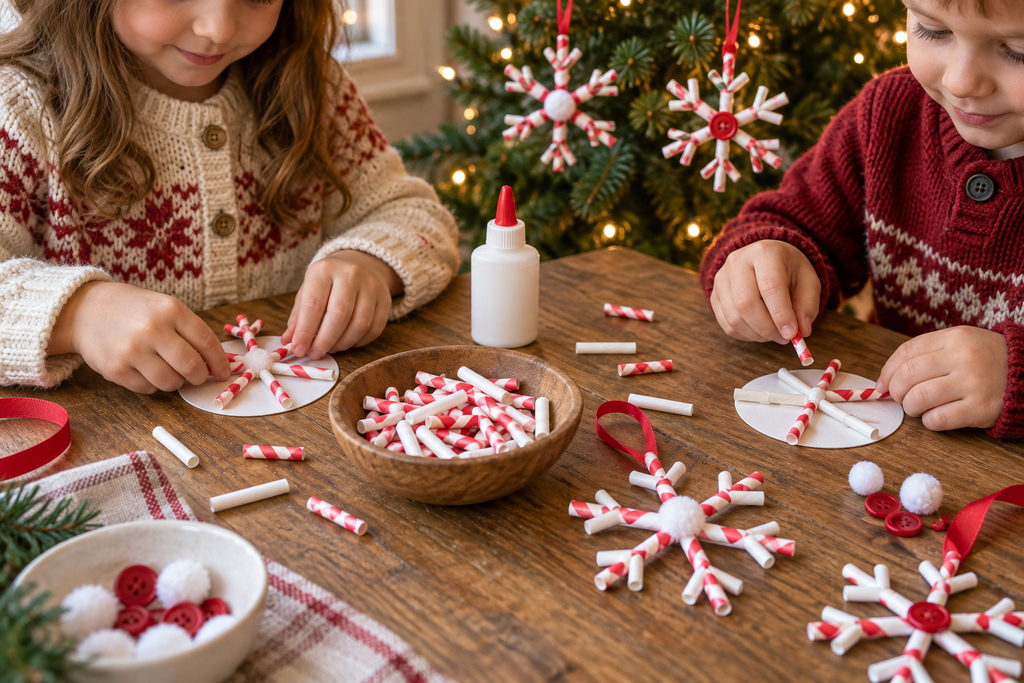
Bright paper straws turn into cheerful, lightweight snowflakes for the tree, a garland, or gift toppers.
You will need
- Paper straws
- Scissors
- Cardstock circles
- School glue or low-temperature glue gun
- Pom-poms, sequins, or buttons
- Ribbon
How to make it
- Cut straws into equal and varied lengths.
- Glue the pieces in a starburst pattern onto a cardstock circle.
- Add a second circle on top to hide the center.
- Decorate and attach a ribbon loop.
Make it special: Precut the straws for preschoolers. Older children can design symmetrical patterns.
4. Pinecone Christmas Trees
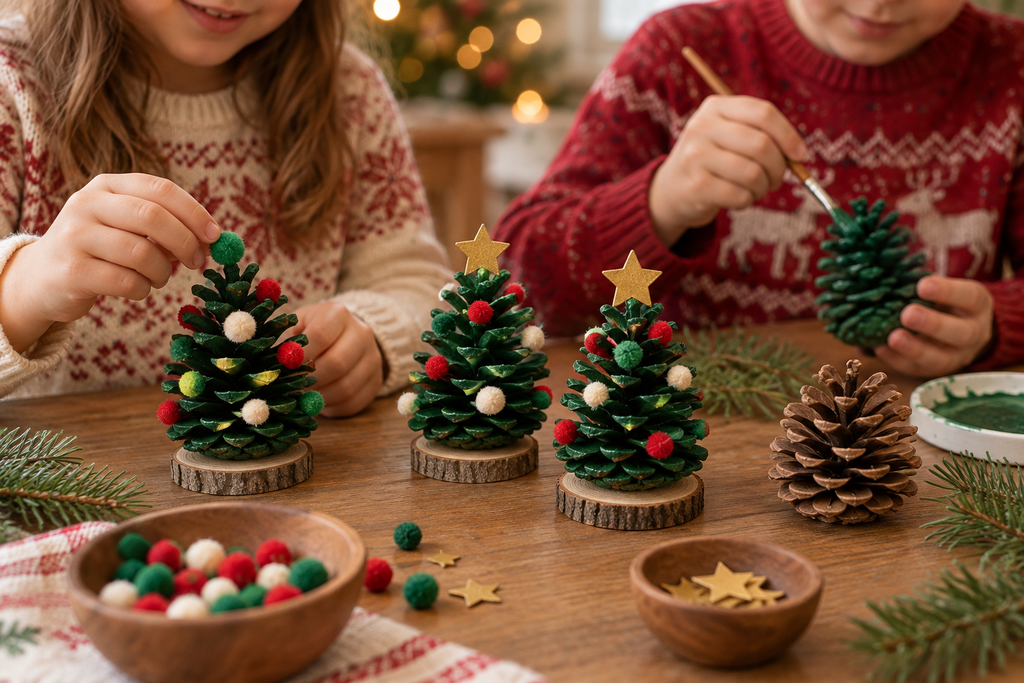
A pinecone, a little green paint, and colorful pom-poms make an adorable miniature Christmas tree.
You will need
- Clean, dry pinecones
- Green craft paint and brushes
- Mini pom-poms or beads
- Cardboard stars
- School glue
- Small wood slices or cardboard circles
How to make it
- Paint each pinecone green and let it dry.
- Glue on pom-pom ornaments.
- Add a paper or cardboard star to the top.
- Glue the pinecone to a base and display it on a mantel or child’s bookshelf.
Make it special: If you gather pinecones outdoors, clean and dry them thoroughly before crafting.
5. Popsicle Stick Sled Ornaments
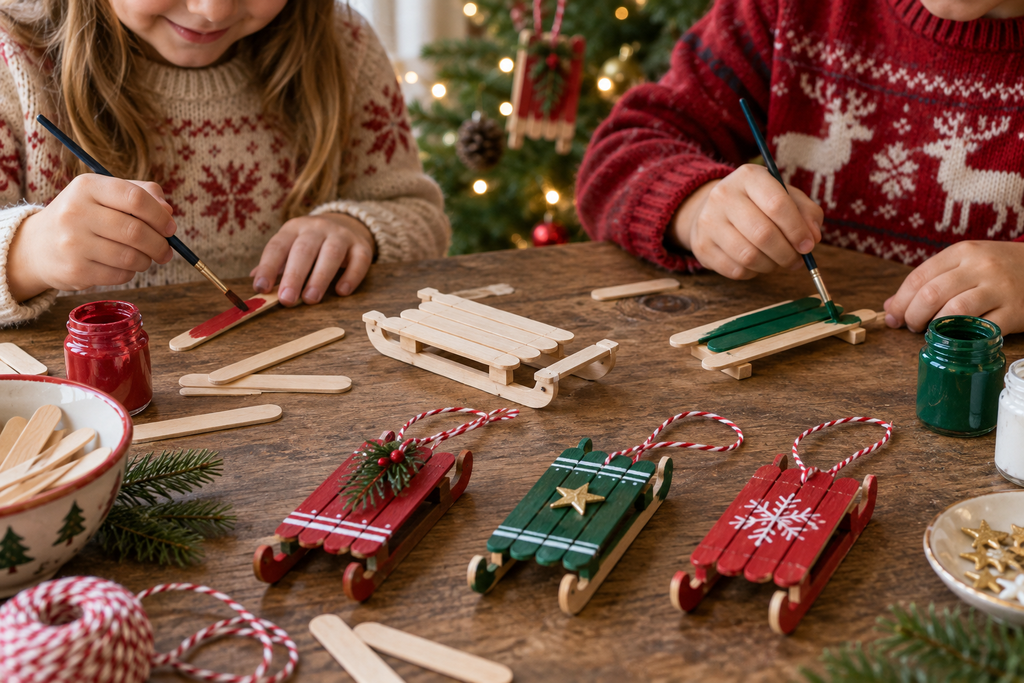
These tiny sleds are easy to personalize with names, dates, stripes, or miniature painted presents.
You will need
- Craft sticks
- Craft paint
- School glue or adult-operated hot glue
- Twine
- Paint pen or permanent marker
How to make it
- Paint the sticks and allow them to dry.
- Arrange several sticks side by side for the seat, then glue two sticks beneath as runners.
- Add a short crosspiece near the front.
- Tie on twine and write the child’s name and year across the sled.
Make it special: Use family names to turn several sleds into a matching set.
* Prefer an even easier option? Ready-to-assemble Christmas craft kits are also available and include the pieces children need to create festive ornaments with less preparation and cleanup.
6. Tissue Paper Stained Glass Stars
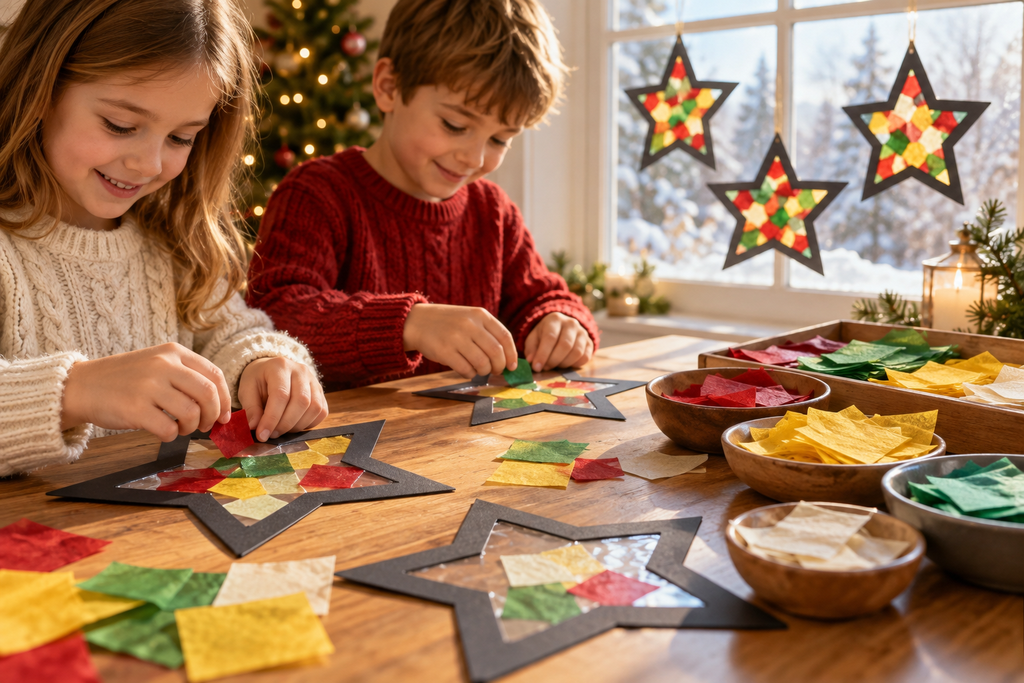
When sunlight shines through these colorful stars, they give a window the glow of a tiny Christmas chapel.
You will need
- Clear contact paper
- Black or dark cardstock
- Colored tissue paper
- Scissors
- Tape or removable hooks
How to make it
- Cut a star frame from cardstock.
- Place the frame on the sticky side of contact paper.
- Fill the open center with overlapping tissue-paper squares.
- Seal with a second sheet of contact paper and trim.
- Hang in a sunny window.
Make it special: Young children can tear tissue paper while an adult cuts the frame.
7. Dried Orange and Cranberry Garland
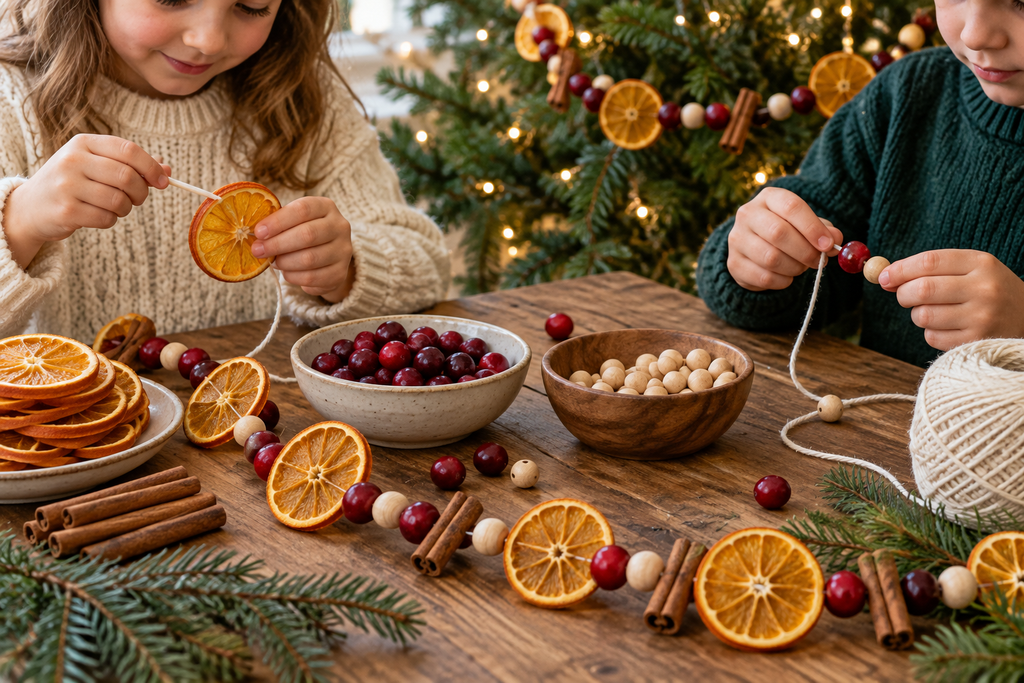
This old-fashioned garland adds warm color and natural texture to a kitchen, mantel, or Christmas tree.
You will need
- Dried orange slices
- Wooden beads or whole cranberries
- Blunt yarn needle
- Cotton twine
- Cinnamon sticks, optional
How to make it
- Adults should prepare the dried orange slices ahead of time.
- Cut a manageable length of twine and tie a large knot at one end.
- String oranges, beads, cranberries, and cinnamon sticks in a repeating pattern.
- Tie a loop at each end for hanging.
Make it special: Use wooden beads instead of cranberries if you want a garland you can store and reuse.
8. Cardboard Gingerbread Houses
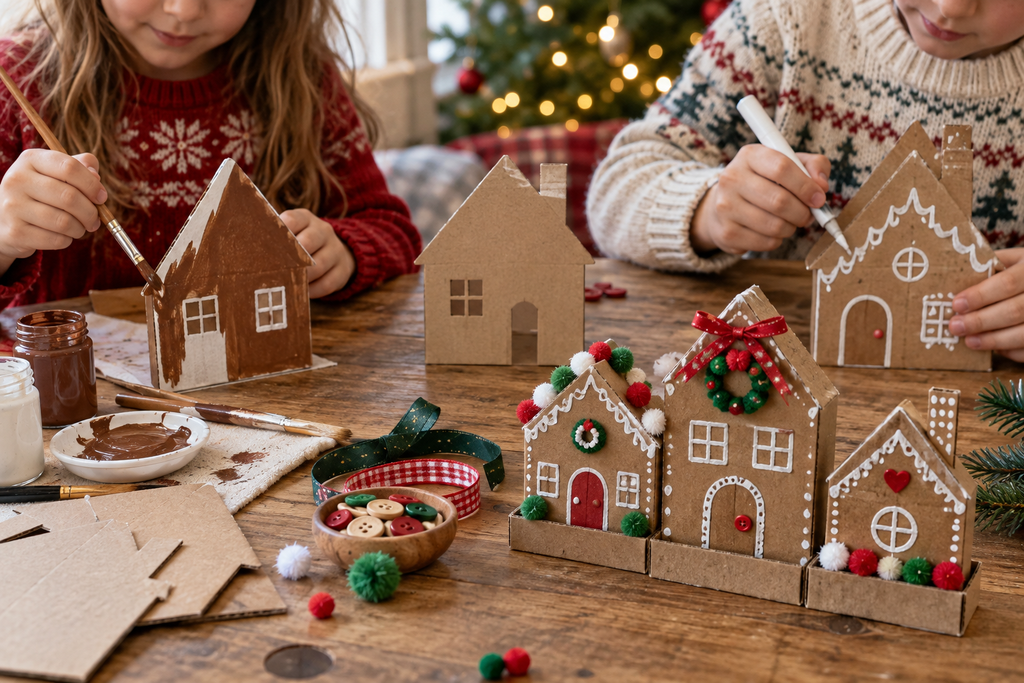
Small cardboard houses create a sweet Christmas village without the sticky construction problems of real gingerbread.
You will need
- Clean cereal-box cardboard
- Scissors
- Brown and white paint
- Paint markers
- Pom-poms, buttons, and ribbon
- Glue
How to make it
- An adult cuts simple house shapes from cardboard.
- Children paint the houses gingerbread brown.
- Add white icing lines, windows, doors, gumdrop colors, and names.
- Stand the houses in small folded bases or add loops to make ornaments.
Make it special: Make one house for each family member and display them together as a village.
9. Kindness Paper Chain
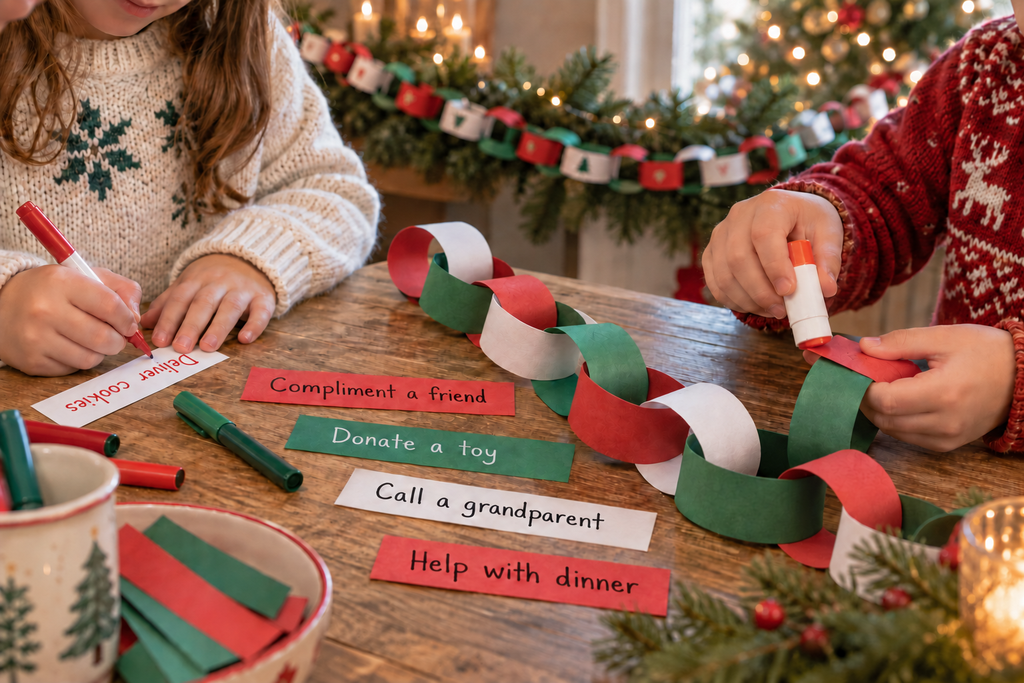
This decoration grows throughout December and gently shifts the focus from getting to giving.
You will need
- Red, green, and white paper strips
- Washable markers
- Glue stick or stapler used by an adult
How to make it
- Write a simple act of kindness on each paper strip.
- Link the strips into a chain.
- Complete one activity each day, or add a new link whenever someone does something kind.
Make it special: Try ideas such as deliver cookies, compliment a friend, donate a toy, call a grandparent, or help with dinner.
10. Memory Filled Clear Ornaments
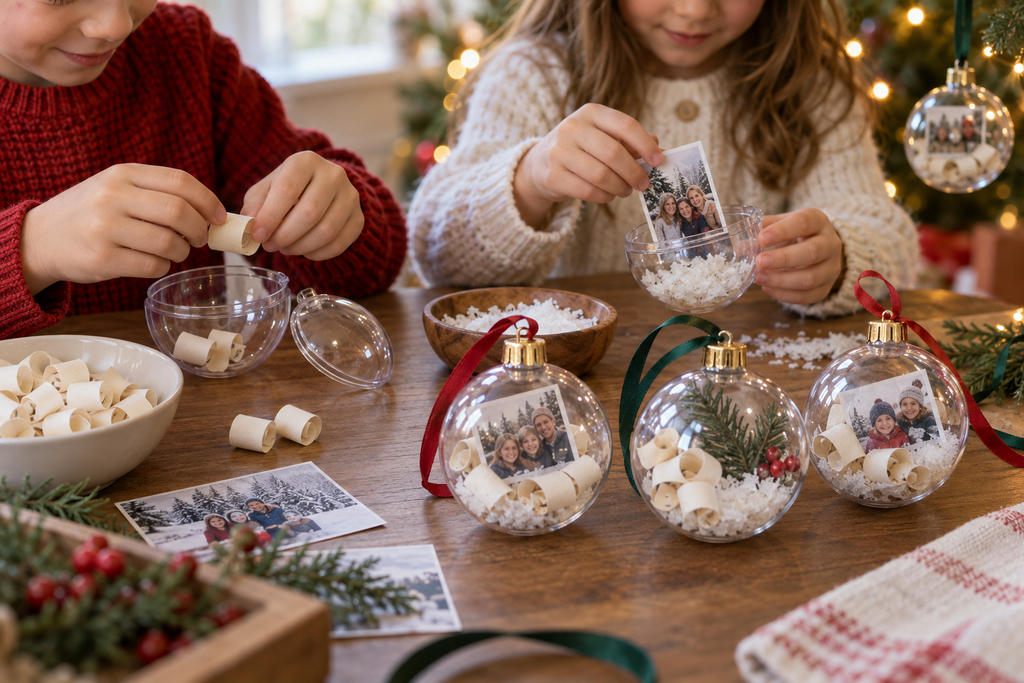
A clear ornament can hold a tiny snapshot of your family’s year and become a simple annual tradition.
You will need
- Clear fillable plastic ornaments
- Short paper strips
- Markers
- Ribbon
- Small photo, confetti, or faux snow, optional
How to make it
- Ask each person to write a favorite memory from the year on a strip of paper.
- Curl or fold the messages and place them inside the ornament.
- Add a small photo or a little faux snow.
- Label the ornament with the year and finish it with ribbon.
Make it special: Plastic ornaments are safer than glass when crafting with children.
Turn It Into a Christmas Craft Night
Put on a favorite Christmas playlist, serve hot cocoa and easy snacks, and let each child choose one or two projects. A simple “creation station” with paint, ribbon, markers, and glue keeps the evening relaxed. Take a photo of the makers with their finished decorations, then store the picture with the ornaments when Christmas is over.
How to Store Homemade Decorations
Wrap salt dough and cinnamon ornaments in acid-free tissue paper and keep them in a sturdy container away from heat and moisture. Place delicate paper crafts between sheets of cardboard. Coil garlands loosely instead of folding them. Most importantly, label everything with names and dates—the story behind a child’s decoration is what makes it priceless.
A Tradition Worth Keeping
Homemade Christmas decorations do not need to look polished to make a home feel festive. Their beauty comes from the afternoon spent together, the laughter around the table, and the memories tucked into every brushstroke. Start with one easy project this year. Before long, your family may have a collection that tells the story of Christmases past.
Which decoration would your children choose to make first? Share your favorite family Christmas craft in the comments.
Planning a Christmas craft day? I gathered my favorite kid-friendly supplies in one convenient place.
Shop My Christmas Crafts With Kids List
Leave a Reply